1
Pre-installation Preparations
Before installation, thoroughly inspect the dissolved air releaser and its accessories to ensure there is no damage, deformation, or missing parts.
Key Requirements:
- Seals and connectors must be kept clean and intact before installation
- Clean the installation area to ensure it is free of debris, oil, and corrosive substances
- Leave sufficient operating space around the installation location
- Prepare suitable installation tools, sealing materials, and auxiliary supports according to equipment specifications
- Verify that the pressure and water flow conditions match the equipment parameters to avoid compatibility issues
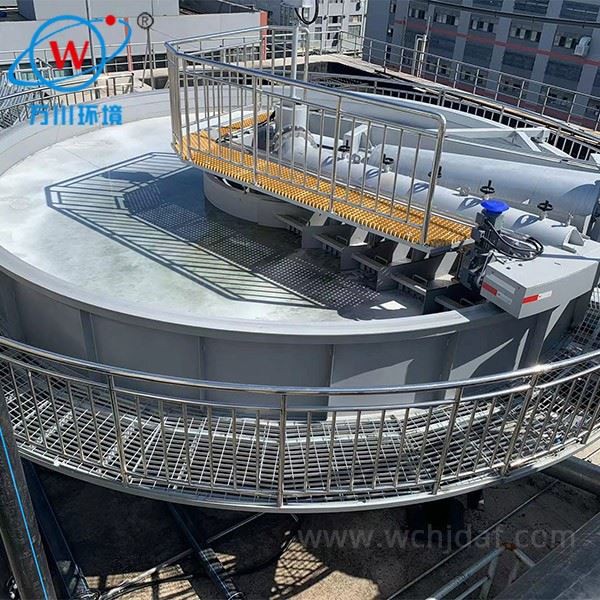
2
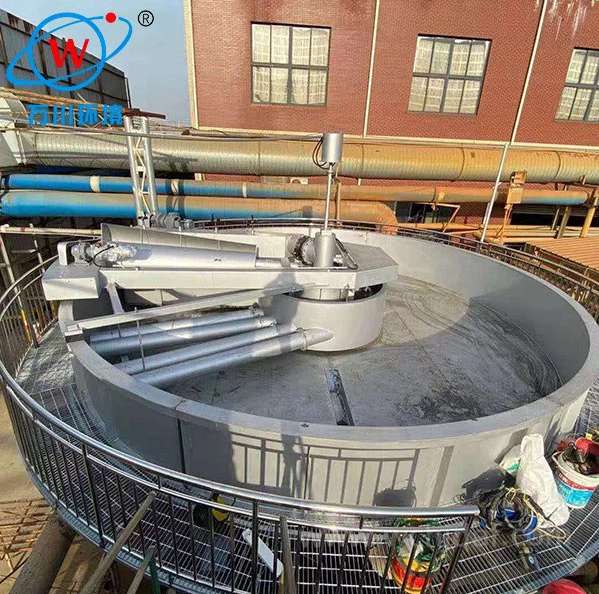
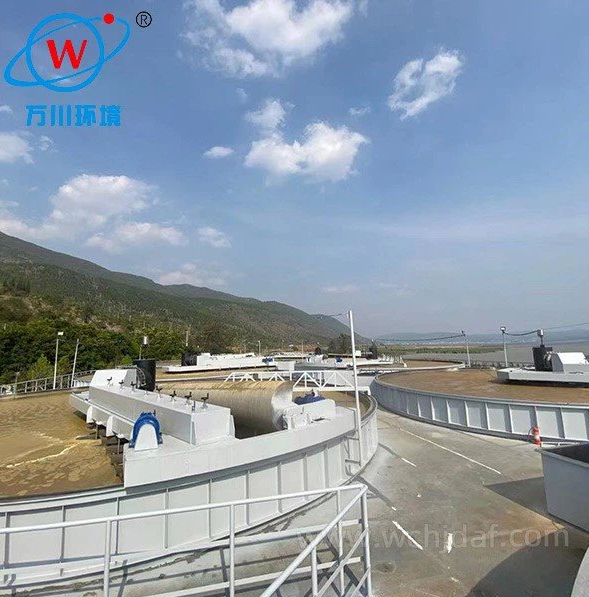
Installation Positioning and Fixing
Choose a location close to the dissolved air tank with a stable water flow for installation. Prioritize ensuring the equipment is level to avoid tilting.
Key Requirements:
- Securely fasten the equipment using brackets or mounting bases, ensuring the installation surface is flat and firm
- The installation must withstand minor vibrations during operation and prevent displacement after prolonged use
- The installation location should avoid direct sunlight, high-temperature heat sources, and areas prone to impact
- Ensure the location facilitates subsequent maintenance and repair access
- Proper leveling is essential to prevent tilting that could affect bubble release effectiveness
3
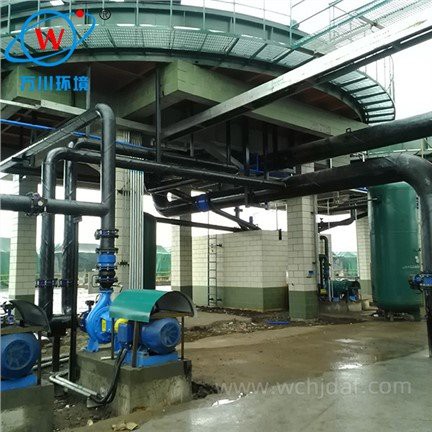
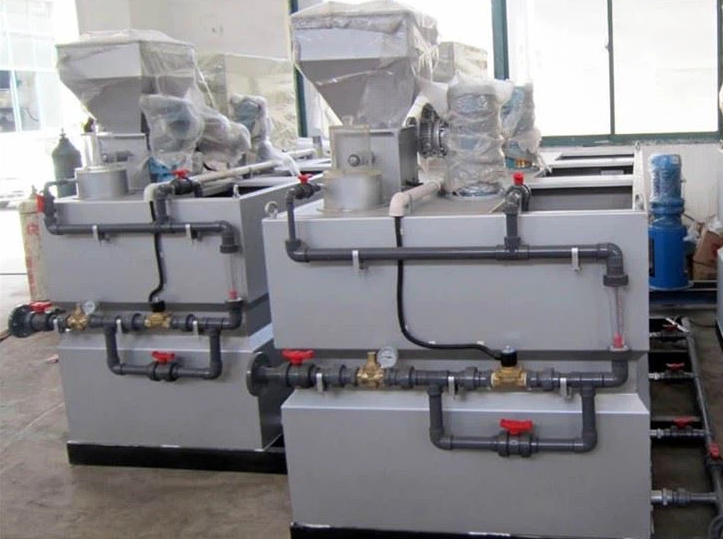
Piping and Fitting Connections
Before connection, thoroughly clean the inner walls of the pipes to remove impurities, rust, and other foreign objects to prevent blockage.
Key Requirements:
- Precisely align the equipment interface with the pipes during installation
- Install suitable seals at the interfaces, and consider using sealant to enhance sealing
- Apply moderate force during connection to avoid overtightening and damage to the interfaces
- Ensure smooth pipe routing, minimizing water flow resistance caused by bends and diameter changes
- Guarantee a stable flow of dissolved air into the equipment for optimal performance
4
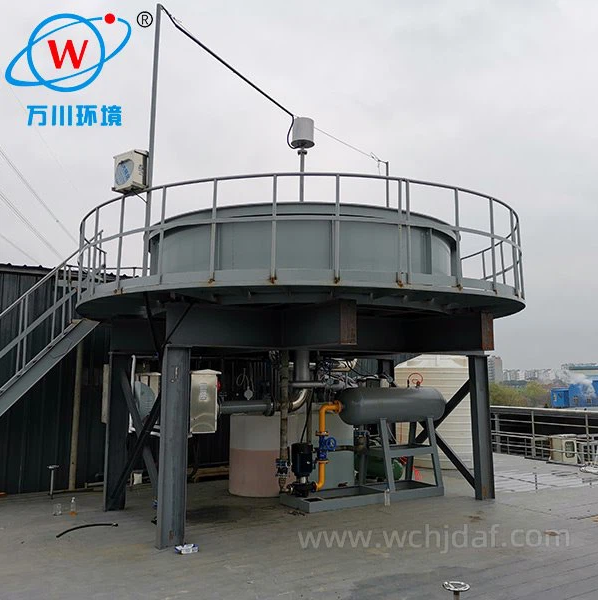
Commissioning, Operation, and Acceptance
After connection, perform an air venting operation by slowly opening the valve to gradually fill the equipment with water and expel internal air.
Key Requirements:
- After starting the system, observe the equipment's operating status, checking for leaks at the interfaces
- Monitor for any abnormal vibrations or noises during operation
- Observe the release of air bubbles in the effluent to ensure they are uniform and stable
- If uneven release is observed, fine-tune the installation angle or pipeline pressure
- After successful commissioning, maintain detailed installation records for future maintenance
- Document the equipment location, connection method, and operating parameters